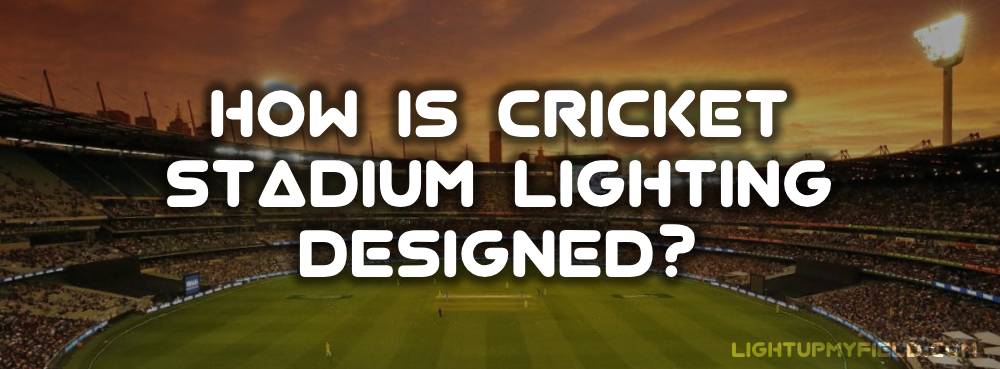
Cricket stadium lighting a mix of engineering, creativity, and understanding how players, fans, and broadcasters experience the game. Cricket is a sport where visibility makes or breaks the match, and with day-night games becoming the norm, proper lighting design is a huge deal. But how exactly is it done? Let’s break it down step by step and see what goes into creating the perfect lighting setup for a cricket ground.
Steps to Design Cricket Stadium Lighting
Designing lighting for a cricket stadium takes a good deal of planning, precise calculations, and a deep understanding of how the game is played and viewed. It’s not just about making the field bright—it’s about creating an environment where players can perform at their best, fans can enjoy the game, and broadcasts look stunning. The whole process generally unfolds through several carefully planned stages.
1. Getting to Know the Stadium Layout and Usage
The very first thing to nail down is the stadium’s layout. This means understanding the size of the ground, the seating arrangements, and the type of events it will host. For instance, a local club ground hosting occasional evening matches has very different lighting needs compared to a stadium regularly hosting international fixtures, especially those televised in ultra-high-definition formats like 4K or even 8K.
The presence of high-speed cameras, often required for broadcast replays, also affects the lighting design because these cameras need higher vertical illumination to capture every detail without flicker or blur. If the stadium doubles as a concert venue or multi-purpose arena, the lighting plan must be versatile enough to adapt to different kinds of events. Understanding these factors early on shapes every decision made later in the process.
2. Defining Illumination Standards
After understanding how the stadium will be used, the next step is setting the illumination levels, usually measured in lux. These numbers are often guided by international cricket authorities like the ICC (International Cricket Council) or local sports governing bodies.
For training grounds or small club fields, around 200 to 300 lux is typically sufficient. Domestic professional matches require brighter lighting, generally between 500 and 750 lux, to ensure visibility for both players and spectators.
When it comes to international matches, especially day-night games intended for live TV broadcast, the standards rise significantly. The pitch, being the most crucial part of the field, usually needs to be lit to 1,500 to 2,000 lux, while the surrounding outfield should receive at least 1,000 to 1,500 lux. These levels ensure that the ball can be tracked clearly even in fast-paced action and that cameras can deliver crisp images for millions of viewers around the world.
3. Selecting Fixtures and Lighting Technology
Once the lux requirements are clear, choosing the right type of lighting fixtures is next. The vast majority of new cricket stadiums now use LED floodlights, which offer multiple benefits. LEDs provide consistent brightness instantly, consume less power compared to older metal halide lamps, and have a much longer lifespan—often exceeding 50,000 hours.
The wattage of individual fixtures can vary, but a common range is between 1,200 and 2,000 watts per floodlight. Selecting the correct beam angle is also vital. For the pitch, narrow beam angles of about 10° to 30° focus light tightly, while wider angles of 40° to 60° are used for the outfield to cover larger areas uniformly.
Besides brightness and spread, fixtures must be equipped with glare control features to prevent players from being blinded when looking up to catch the ball or track its flight.
4. Planning Pole Locations and Heights
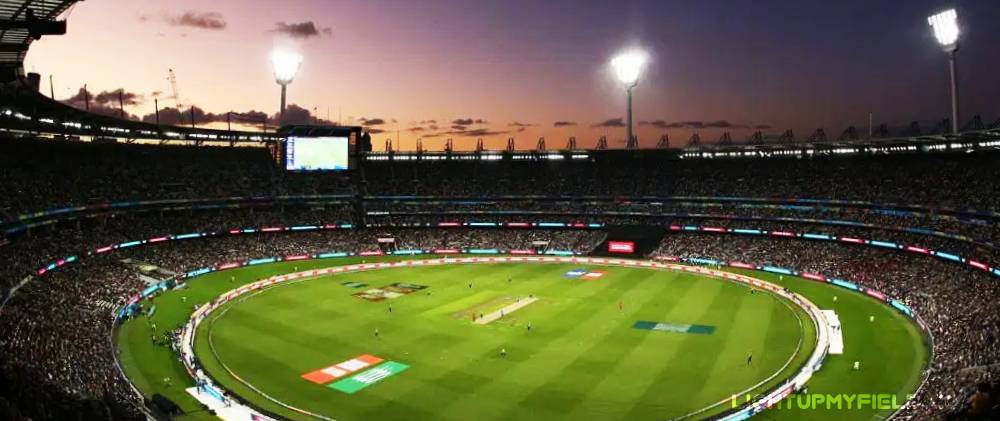
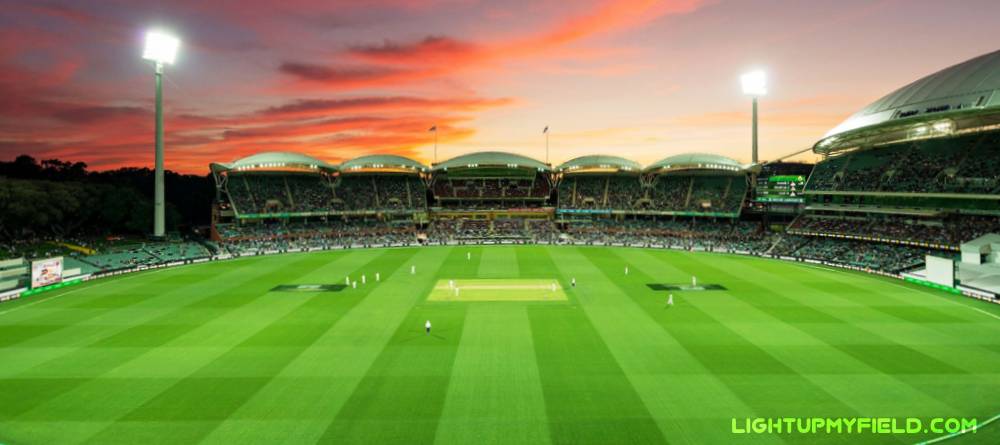
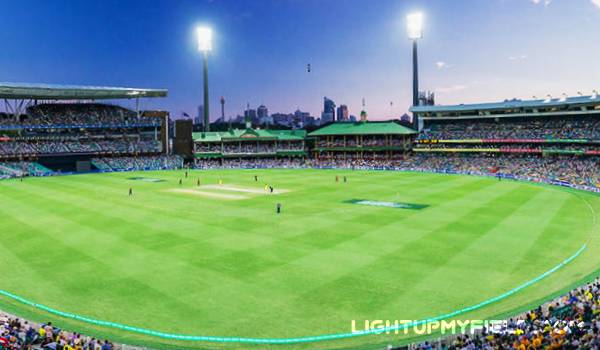
Pole placement has a big influence on how well the lights cover the field and how evenly the brightness is spread. Typically, cricket stadiums employ four to six lighting towers spaced evenly outside the boundary ropes to avoid interfering with play.
The height of these poles usually ranges from 40 to 55 meters. Taller poles allow the light beams to cover larger areas with less shadow and reduce glare for players and spectators. Some stadiums also mount additional fixtures on roofs or stands to fill in any dark spots and improve vertical lighting for broadcast cameras.
The exact number and placement of poles depend on stadium size, seating layout, and architectural constraints, but striking a balance between coverage, uniformity, and player comfort is always the goal.
5. Calculating Beam Angles and Aiming Positions
This step is where the design gets really precise. Every single light fixture’s beam angle and aiming position must be carefully calculated to ensure that the entire playing surface is evenly lit without creating glare or dark patches.
Engineers use advanced 3D lighting simulation software to model the stadium and virtually test how each light interacts with the field and surrounding structures. These simulations help fine-tune angles so that the highest illumination is on the pitch, while the outfield receives smooth, shadow-free light.
For example, some fixtures might be aimed slightly wider to cover the deep boundary areas, while others focus narrowly on the center pitch. Achieving a uniformity ratio of at least 0.6 to 0.7—meaning the darkest parts of the field are at least 60-70% as bright as the brightest—is a typical target.
6. Running a Lighting Simulation
Before any physical installation, designers rely heavily on digital simulations to verify if the proposed lighting plan meets all the requirements. These simulations test for:
- Lux levels and distribution
- Uniformity across the playing surface
- Glare and shadow zones
- Color temperature consistency
If the simulation reveals any issues—say, a shadow near the boundary ropes or potential glare for fielders—designers adjust pole locations, beam angles, or fixture types and run the test again until everything fits perfectly.
Simulations save both time and money by preventing costly on-site fixes later and ensuring the lighting system works exactly as intended from day one.
7. Installation and On-Site Testing
After the design passes all simulation checks, the installation phase begins. The floodlights are mounted on poles or rooftops as per the plan, wired, and connected to control systems. But the job isn’t done yet.
Once the lights are physically in place, on-site testing is carried out to measure actual illumination levels and uniformity. Since real-world conditions vary (due to factors like pole sway, fixture alignment, or atmospheric conditions), technicians often make small aiming adjustments to optimize performance.
They also verify that glare levels are minimized and that the lighting delivers the desired color temperature and brightness for players and cameras alike. The goal is to replicate the simulation’s predicted performance as closely as possible.
8. Integrating with Smart Control Systems
Modern cricket stadiums don’t just want bright lights—they want smart lighting. Integration with advanced control systems lets operators dim or brighten lights instantly, switch zones on or off, and program lighting scenes for different events.
This flexibility is great for saving energy during training sessions when full illumination isn’t needed, or for creating dramatic lighting effects during ceremonies, light shows, or breaks in the match. Smart controls can also extend fixture lifespan by preventing unnecessary overuse.
Common Mistakes When Designing Cricket Stadium Lighting
Even with all the know-how and guidelines, stadium lighting projects sometimes run into avoidable problems. These missteps can seriously impact the quality of the game experience, both on the ground and for viewers at home. Let’s dig into some of the most frequent pitfalls that designers and stadium owners should watch out for.
Ignoring Glare Control
 One of the biggest complaints from players during night games is glare. If you’ve ever watched a fielder squint or miss a high catch because the floodlights were in their eyes, you know how frustrating it can be. Glare happens when lights are aimed too directly at players or when fixtures don’t have proper shielding or anti-glare technology.
Even the best LEDs can cause problems if the aiming angles aren’t carefully calculated. Designers now typically use fixtures with built-in louvers or visors to reduce glare. Correct placement of poles and tilting lights away from players’ sight lines can also make a huge difference. Without this, glare can cause not only missed catches but also safety hazards during fast plays.
Failing to Plan for TV Broadcast Needs
Cricket today is as much about the millions watching on screens as the fans in the stadium. Unfortunately, some stadiums still overlook the lighting requirements specific to television broadcasting. This includes vertical illumination levels, which are crucial for capturing clear images of the ball in flight, especially for slow-motion replays and close-ups.
High-speed cameras used in international games often need vertical lux levels of around 1,500 lux on the pitch and 1,000 lux on the outfield. When lighting is designed without considering these, the broadcast footage can appear dull, grainy, or uneven, ruining the viewing experience and sometimes even affecting umpire decisions aided by video technology.
Uneven Lighting Across the Field
Another common mistake is putting too much focus on lighting the pitch and neglecting the outfield. While the pitch gets the lion’s share of attention—and rightly so—players field all over the stadium. Shadows or darker patches in the outfield not only look bad on TV but can seriously hamper fielders’ ability to judge and catch balls.
Aiming for a uniformity ratio of at least 0.6 or above is essential to prevent this issue. Without consistent lighting, certain areas might be too bright while others remain dim, making gameplay uneven and frustrating for players and spectators alike.
Relying on Outdated Lighting Technology
Some cricket grounds still use older lighting technologies like metal halide lamps. These lights consume a lot of electricity—often 30 to 40% more power than LED setups—and take several minutes to reach full brightness. They also degrade faster and need more frequent replacements, increasing maintenance costs.
In comparison, modern LED floodlights provide instant illumination, offer better control over beam angles, and have lifespans exceeding 50,000 hours. Clinging to outdated tech not only wastes energy but also limits the flexibility of the lighting system and affects the overall quality of the lighting on the field.
So, How Do You Pull It All Together?
Designing cricket stadium lighting isn’t a one-size-fits-all thing. Every venue has unique challenges—size, seating arrangement, camera positions, and even local weather conditions. That’s why engineers run 3D lighting simulations before installing anything. These simulations predict lux levels, uniformity, glare zones, and help fine-tune pole placement and beam angles.
The goal is simple: make the game look great from every seat in the stadium and every TV screen around the world, while giving players the visibility they need to perform at their best.
If you’re planning to upgrade or build a new cricket ground, why not get a custom lighting design tailored just for your stadium? Drop us a message anytime, and we’ll hook you up with a free, professional lighting plan that takes all your unique needs into account—whether it’s for local matches or international broadcasts. Let’s make sure your field shines bright and every game looks amazing!