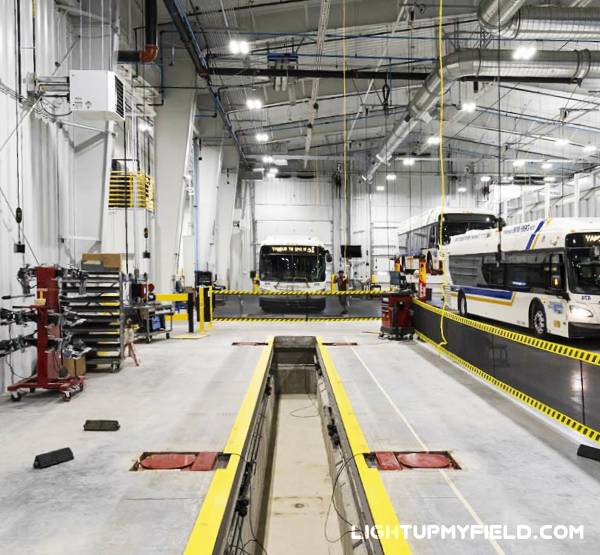
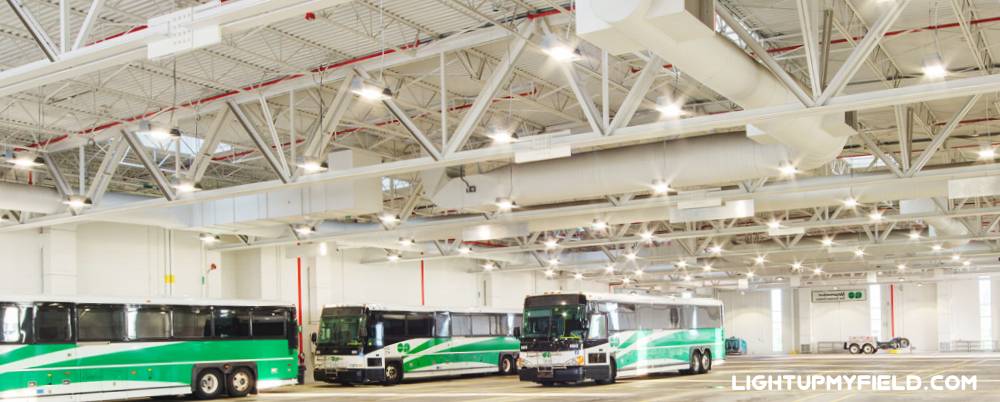
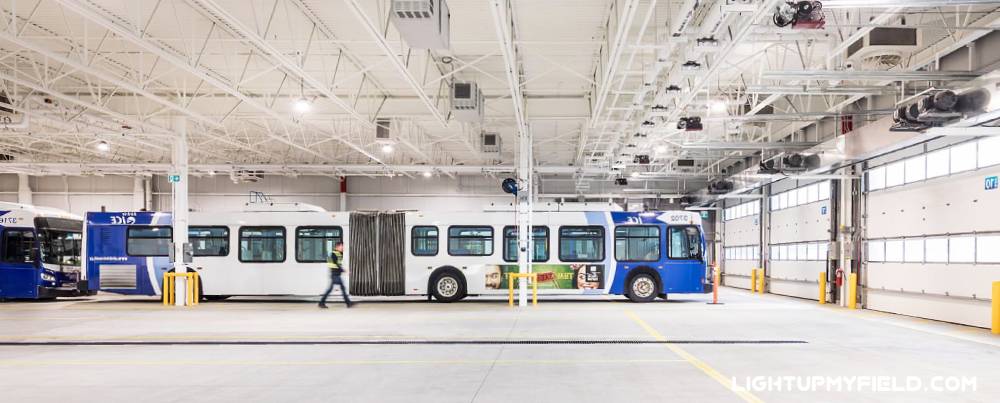
Lighting a bus garage involves more than simply flipping a switch. With factors like fixture selection, energy consumption, and ongoing maintenance, the costs can vary significantly. Whether you’re setting up a brand-new depot or upgrading an existing one, understanding where your budget is going helps you make smarter choices and avoid overspending.
Let’s break down the different types of lighting, what each option truly costs, and how to design a system that keeps your garage bright while staying budget-friendly.
Table of Contents
ToggleDifferent Types of Bus Garage Lighting Cost Range
When you think about lighting a bus garage, it’s not quite like lighting a regular office or warehouse. These spaces are massive, with tall ceilings, heavy equipment, and zones that need very specific lighting levels. So, the lighting setup has to be rugged, efficient, and built to last. Let’s dig into the costs you can expect for fixtures, installation, running the system, and upkeep.
Fixture Cost – Upfront Investment vs. Long-Term Value
 Fixtures are the first big chunk of your lighting budget. Traditional choices like metal halide lamps have been the standard for years, but most bus garages are now making the switch to LED fixtures—and it’s easy to see why.
A typical 400-watt metal halide fixture might cost you anywhere from $150 to $250 each. That sounds pretty affordable at first glance, but these old-school lights guzzle electricity and need bulb replacements every couple of years. On the other hand, an LED high-bay fixture made for garages usually runs between $250 and $450 per unit. Yes, the sticker price is higher, but LEDs pack a longer lifespan and sip energy way more efficiently, which means they save you money down the line.
To put this into perspective, if you have a mid-sized bus garage of about 20,000 square feet (which is roughly 1,860 square meters), you’d likely need somewhere between 40 to 60 LED fixtures to get the lighting levels right for work and parking areas. Doing the math, your fixture costs could range from $10,000 on the low end to nearly $27,000 if you pick higher-end LEDs.
Installation Cost – More Than Just Hanging Lights
Installing those fixtures isn’t as simple as screwing in a bulb. Labor prices fluctuate depending on where you are, but for high-bay or ceiling-mounted lights, you’re looking at around $150 to $300 per fixture for installation. This cost usually includes wiring, mounting, and hooking up any controls.
If your bus garage requires additional electrical upgrades, or if the ceilings need extra reinforcement to support heavy fixtures, the installation expenses can climb quickly. For our 50-fixture example, installation could add another $7,500 to $15,000 to your bill. But here’s a silver lining: if you’re upgrading from older metal halide lights to LEDs and can reuse existing wiring and supports, you’ll save a nice chunk compared to starting fresh.
Operating Cost – Where LEDs Really Shine
This is where LEDs start to show their real value—both in light quality and your wallet. A 400-watt metal halide light actually pulls closer to 455 watts once you factor in the ballast, while a comparable LED fixture usually draws just 150 to 200 watts.
Let’s run the numbers. If your garage lights run about 12 hours daily, every day of the year (that’s 4,380 hours annually), a metal halide fixture uses roughly 2,000 kWh of electricity per year. At an average commercial rate of 12 cents per kWh, you’re spending about $240 annually per light. For 50 fixtures, that racks up to $12,000 a year in electricity alone.
Swap those out for 150-watt LEDs, and annual energy use drops dramatically to around 657 kWh per fixture, or roughly $79 per year. Multiply that by 50 fixtures, and you’re looking at about $3,950 annually—which means you’re saving over $8,000 every year on energy bills. That’s why so many operators find that upgrading to LEDs pays for itself in just three or four years.
Maintenance Cost – The Hidden Expenses of Lighting Up High Spaces
Keeping your garage lights working isn’t just about swapping burnt-out bulbs. There’s labor, renting lifts or scaffolding, and potential downtime that all add up. Metal halide bulbs typically last between 10,000 and 15,000 hours. So if you run the lights daily, expect to replace those bulbs every two to three years.
LEDs, however, can last anywhere from 50,000 to 100,000 hours—that’s easily 10 years or more before you even have to think about replacements.
Sounds simple, but let’s put it in dollars. If each bulb change involves a technician, a lift rental, and a couple of hours of downtime, it could cost you $200 or more per fixture just to replace bulbs. Multiply that by dozens of fixtures and multiple replacements over a decade, and maintenance becomes a significant chunk of your lighting budget. LEDs drastically cut down those expenses by needing far fewer replacements, which often means maintenance savings can rival your energy savings.
How to Get the Best Bus Garage Lighting Design with a Tight Budget

Working with a tight budget doesn’t mean your bus garage has to look like a poorly lit cave. With some smart planning and a few clever moves, you can get a lighting setup that’s bright, even, and energy-friendly—all without breaking the bank. Let’s talk about how to make every dollar count and still get solid lighting performance.
Start with a Detailed Layout Plan
Before you even think about buying fixtures, take a step back and map out the garage space carefully. Measure the square footage, note the ceiling heights, and pinpoint different zones such as maintenance bays, parking areas, and drive lanes. Each area has its own lighting needs, so knowing this upfront is a game changer.
Maintenance bays usually need brighter light, often in the range of 300 to 500 lux, because mechanics and cleaners need to see details clearly. On the flip side, parking zones can get by with just 30 to 50 lux for general visibility. Without this kind of targeted approach, it’s easy to overspend by installing super-bright lights everywhere—even where you don’t need them.
One step that’s worth the time and effort is getting a photometric analysis. Many lighting manufacturers offer this service for free when you purchase from them. What it does is simulate how the light spreads in your space, helping you figure out exactly how many fixtures you’ll need and where to place them. This avoids those annoying dark patches or overly bright spots and can save you from buying extra fixtures that don’t really add value.
Opt for Energy-Efficient Fixtures That Last
If you’re worried about upfront costs, it’s tempting to pick cheaper, older lighting options. But LEDs have become the real champions for garages thanks to their long lifespan and energy savings. Even if the initial price tag looks steep, the long-term payoff can be huge.
Imagine you’re upgrading to LEDs that save around $8,000 annually on energy. A project costing $30,000 could pay for itself in just under four years. After that, you’re basically running your lighting for free—at least when it comes to electricity.
When shopping for LEDs, look for fixtures with a high lumen-per-watt ratio, ideally over 130 lm/W, which means more light output for less power. Also, pay attention to the rated lifespan—many quality LEDs now last 50,000 to 100,000 hours. Some brands back that up with warranties of five to ten years, which helps reduce worries about future replacement costs.
Make Use of Smart Lighting Controls
Smart controls can be a real game changer if you want to cut costs without compromising lighting quality. Installing dimming options, motion sensors, or daylight sensors can slash energy bills by 20 to 40 percent.
For instance, motion sensors can be installed in less-used parts of the garage, like storage rooms or rarely accessed areas. When no one’s around, the lights dim or switch off, saving energy without anyone even noticing. Daylight sensors can automatically reduce artificial lighting near windows during sunny days, so you’re not wasting power when natural light is available.
The upfront cost for adding these controls is pretty reasonable, usually around $50 to $150 per fixture. The best part is, the energy savings start right away, and over a few years, these smart systems can pay for themselves multiple times.
Use Reflective Surfaces to Boost Light Efficiency

Sometimes the simplest tricks are the best. Painting your garage walls and ceilings with light colors—white, light gray, or pale beige—can do wonders for how light bounces around your space.
Reflective surfaces can increase effective lighting by about 10 to 15 percent. That might not sound like a lot, but it means you can either use fewer fixtures or dial down the brightness a bit and still keep everything well lit. Fewer fixtures and lower wattage add up to savings on both initial costs and ongoing energy use.
Plan for Maintenance from the Get-Go
It might not be the most exciting part of lighting design, but maintenance planning can save you a lot of headaches—and dollars—down the line. Choosing fixtures that have easy-to-access parts or modular components means when something goes wrong, you don’t have to replace the whole unit. Swapping out a lens or driver can be much cheaper and quicker.
If each fixture takes a technician two hours and a lift rental to service, that’s a big chunk of labor and equipment costs if you have dozens of lights. Over a 10-year span, these costs add up quickly. So picking lighting that makes repairs and maintenance straightforward can save thousands and keep your garage running smoothly without unexpected expenses.
Pulling It All Together
So, what’s the real cost of lighting a bus garage? It depends on your choices, but for a mid-sized facility, you’re probably looking at $20,000 to $40,000 upfront for a solid LED system, plus installation. That might sound steep, but compare it to the thousands you’d spend every year on old tech, and suddenly LEDs feel like a bargain. Factor in smart controls, reflective surfaces, and a well-thought-out layout, and you can create a system that’s bright, efficient, and built to last without blowing your budget.
Lighting isn’t just about seeing clearly—it’s about keeping operations smooth, energy bills low, and maintenance headaches away. With the right plan, your garage can shine bright without draining your wallet.

